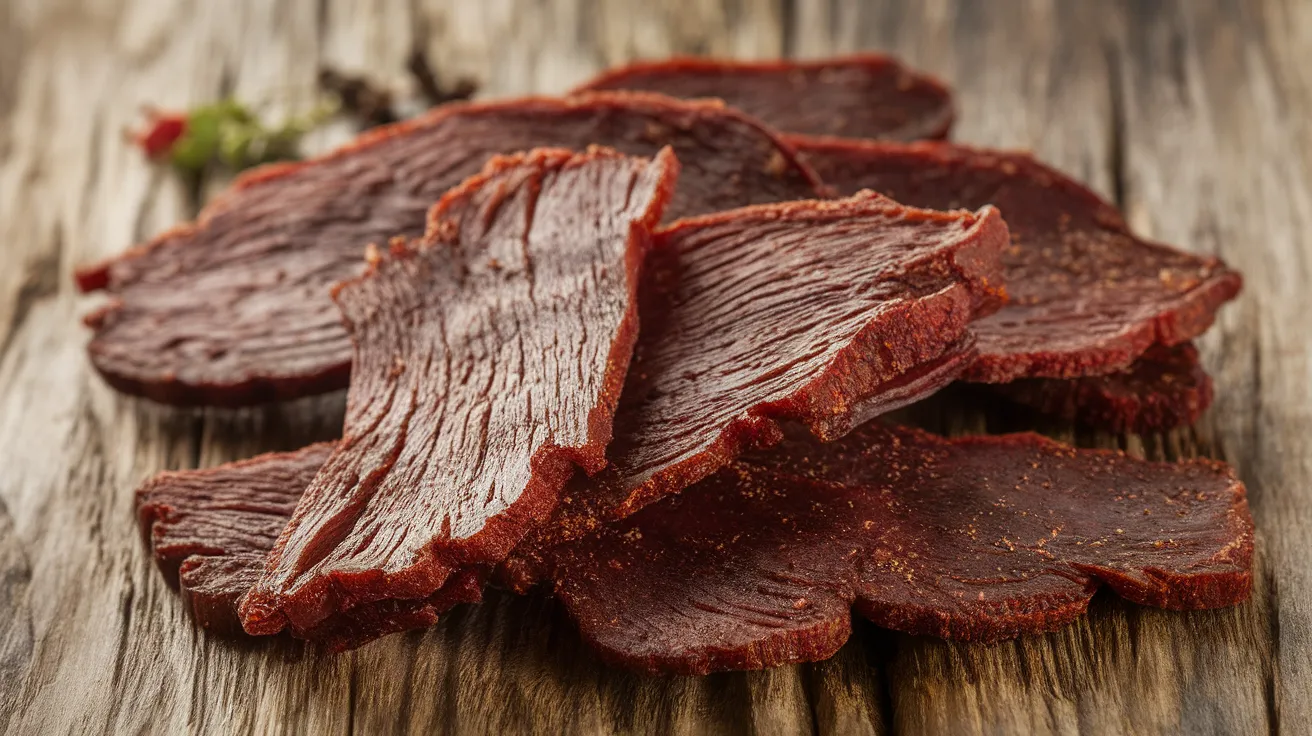
When I tell folks that making your own venison jerky is actually pretty simple, they usually look at me like I've lost my mind. But here's the truth: while it takes time and patience, the actual process isn't complicated at all. I learned this the hard way after my first attempt – which, let's just say, could have been used as boot leather – but now I'm here to share everything I've learned so you can skip right to the good stuff.
Why Make Your Own Venison Jerky?
Store-bought jerky can't hold a candle to homemade, especially when you're working with venison. The lean nature of deer meat makes it perfect for jerky, and controlling your own ingredients means no preservatives or mystery additives.
Essential Ingredients for Perfect Venison Jerky
For the Base Recipe:
- 5 pounds venison, trimmed and sliced
- 1/2 cup soy sauce
- 1/4 cup Worcestershire sauce
- 2 tablespoons black pepper
- 2 teaspoons onion powder
- 2 teaspoons garlic powder
- 2 teaspoons smoked paprika
- 1 tablespoon sea salt
- 1 teaspoon celery salt
- 1 tablespoon brown sugar
- 2 teaspoons ground coriander
The Secret to Perfect Slicing
Here's a game-changing tip I learned from an old-timer: partially freeze your meat before slicing. About 2 hours in the freezer makes it firm enough to cut cleanly but not solid as a rock.
Step-by-Step Instructions
- Meat Preparation (Day 1)
- Remove all fat and silverskin
- Partially freeze meat (about 2 hours)
- Slice against the grain, 1/8 to 1/4 inch thick
- Keep slices uniform for even drying
- Marinade Preparation
- Mix all marinade ingredients in a large bowl
- Divide meat and marinade between two large zip-top bags
- Remove as much air as possible
- Massage marinade into meat
- Refrigerate 12-24 hours
- Preparing to Dry
- Remove meat from marinade
- Pat pieces dry with paper towels
- Arrange on dehydrator trays or oven racks
- Leave space between pieces for air circulation
- Drying Process
- For dehydrator: Set to 165°F
- For oven: Lowest setting (usually 170°F)
- Prop door slightly open if needed
- Total time: 4-8 hours depending on thickness
Temperature Guidelines for Food Safety
- Initial heating: 165°F for first hour
- Drying temperature: 145-155°F
- Final internal temperature must reach 160°F
- Use food thermometer to verify
Essential Equipment
- Sharp knife or meat slicer
- Large zip-top bags
- Food dehydrator or oven
- Paper towels
- Airtight storage containers
Pro Tips from Years of Experience
- Choosing Your Meat
- Use the leanest cuts possible
- Hindquarter muscles work best
- Remove ALL visible fat
- Cut against the grain for tender jerky
- Marinade Magic
- Marinate at least 12 hours
- Don't exceed 24 hours
- Rotate bags occasionally
- Keep refrigerated throughout
- Drying Wisdom
- Start checking at 4 hours
- Bend test: should crack but not break
- Rotate trays for even drying
- Better to over-dry than under-dry
Common Troubleshooting
- Too Salty: Reduce salt in marinade, shorter soak time
- Too Tough: Sliced too thick or overdried
- Too Soft: Needs more drying time
- Mold Growth: Insufficient drying or poor storage
Storage Solutions
Proper storage is crucial:
- Cool completely before storing
- Use airtight containers
- Add food-grade desiccant packets
- Store in cool, dark place
- Refrigerate for longer storage
Variations to Try
Once you master the basic recipe, experiment with:
- Teriyaki style
- Spicy chipotle
- Black pepper emphasis
- Asian-inspired flavors
- Herbs and garlic
Understanding the Drying Process
The key stages of jerky making:
- Initial heating for food safety
- Moisture reduction
- Texture development
- Final drying
Testing for Doneness
Look for these signs:
- Bends without breaking
- No visible moisture when bent
- Dark color but not brittle
- Firm but still pliable
Food Safety Considerations
Take these precautions:
- Clean all surfaces thoroughly
- Use clean utensils
- Keep meat refrigerated until drying
- Store properly once dried
Cost-Effectiveness
Making your own jerky saves money:
- Store-bought: $30-40/pound
- Homemade: $5-10/pound
- Plus complete ingredient control
Ideal Uses for Venison Jerky
Perfect for:
- Hiking and camping trips
- Emergency food storage
- High-protein snacks
- Gift-giving
- Long hunting days
Nutritional Benefits
Venison jerky offers:
- High protein content
- Low fat
- Iron-rich
- Portable nutrition
- Long shelf life
Final Thoughts
Making your own venison jerky is one of the most rewarding ways to preserve your harvest. Yes, it takes time, but the result is worth every minute. There's something deeply satisfying about pulling out a bag of homemade jerky on a long hike or sharing it with friends who've never tasted "real" jerky before.
Remember, your first batch might not be perfect, and that's okay. Like any skill worth learning, making great jerky takes practice. Keep notes on what works and what doesn't, adjust your recipe to your taste, and soon you'll be the one giving out jerky-making advice.
One last tip: make more than you think you need. Trust me on this one – it disappears faster than you'd expect!
Happy drying, and remember to share your success stories (and your jerky) with friends!
---Elliot


